Connect Lnd
liongrass / June 2023 (1067 Words, 6 Minutes)
Connect LND
Today we will check back with our nodes, make sure everything is running as expected. We will also adjust our firewall and connect to the litd interface for the first time, before we connect to Lightning Terminal, Zeus and Alby.
Useful resources:
Check on your node
As we SSH into our server, we are first going to make sure everything is running smoothly.
lncli getinfo
The part of the output we’re looking for tells us that we are synced to the blockchain and the network graph.
    "synced_to_chain": true,
    "synced_to_graph": true,
Open the firewall (only for those running litd on a machine without a keyboard or monitor)
You can check the status of your firewall. If you have not yet enabled your firewall, check this guide for how to do it.
sudo ufw status
It should return Status: active and a list of existing rules.
We are going to add a rule that lets us connect to the user interface of litd. As we only very rarely need access to this interface, I would recommend to change the rules when you need access, then pull the firewall back up once you’re done.
sudo ufw allow 8443
We will also make sure that the following line is added to our lit.conf file: httpslisten=0.0.0.0:8443
nano ~/.lit/lit.conf
If you have to add this line, don’t forget to restart LND and unlock it!
lncli stop
nohup litd > /dev/null 2> ~/.lnd/err.log &
lncli unlock
Access the user interface
You can access the user interface at https://<ip address>:8443
For example, if you are working directly on the machine that runs litd, this might be https://127.0.0.1:8443, or it might be the IP of your VPS: https://172.81.181.220:8443/. If you are connecting to a computer on your home network, make sure you are on the same network (e.g. the same Wi-Fi). Your connection might look like this: https://192.168.1.21:8443/
As we are not able to obtain a certificate for this IP address, we will get the warning that this is a self-signed TLS certificate, which in almost all browsers we can “accept and continue.”
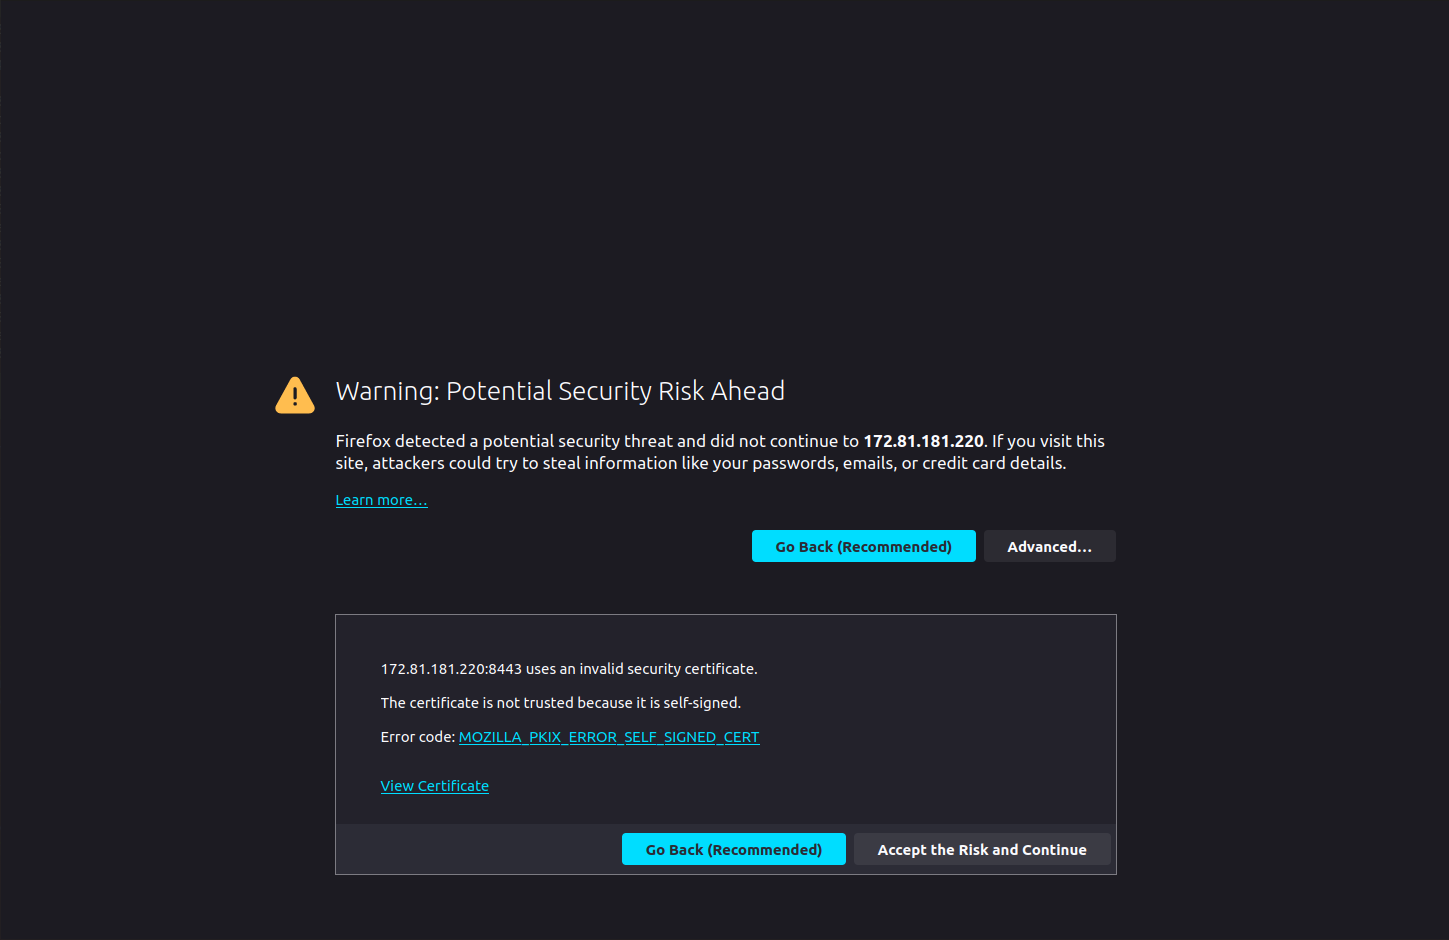
Once we continue, we can enter our UI password.
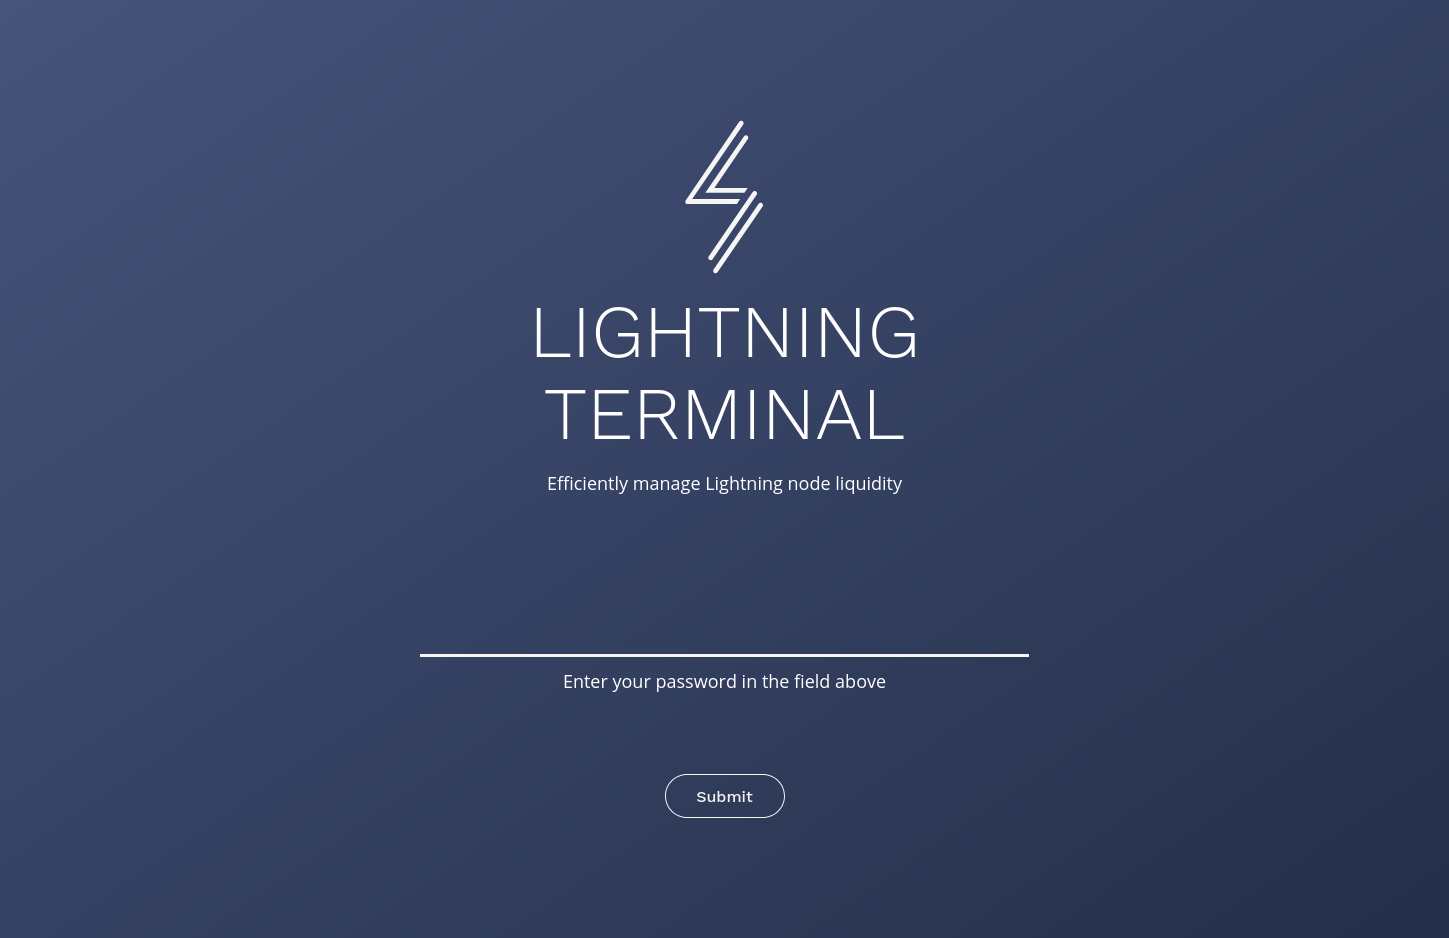
It should be the same password that we can find in our .lit/lit.conf file.
Congratulations, we are connected to litd!
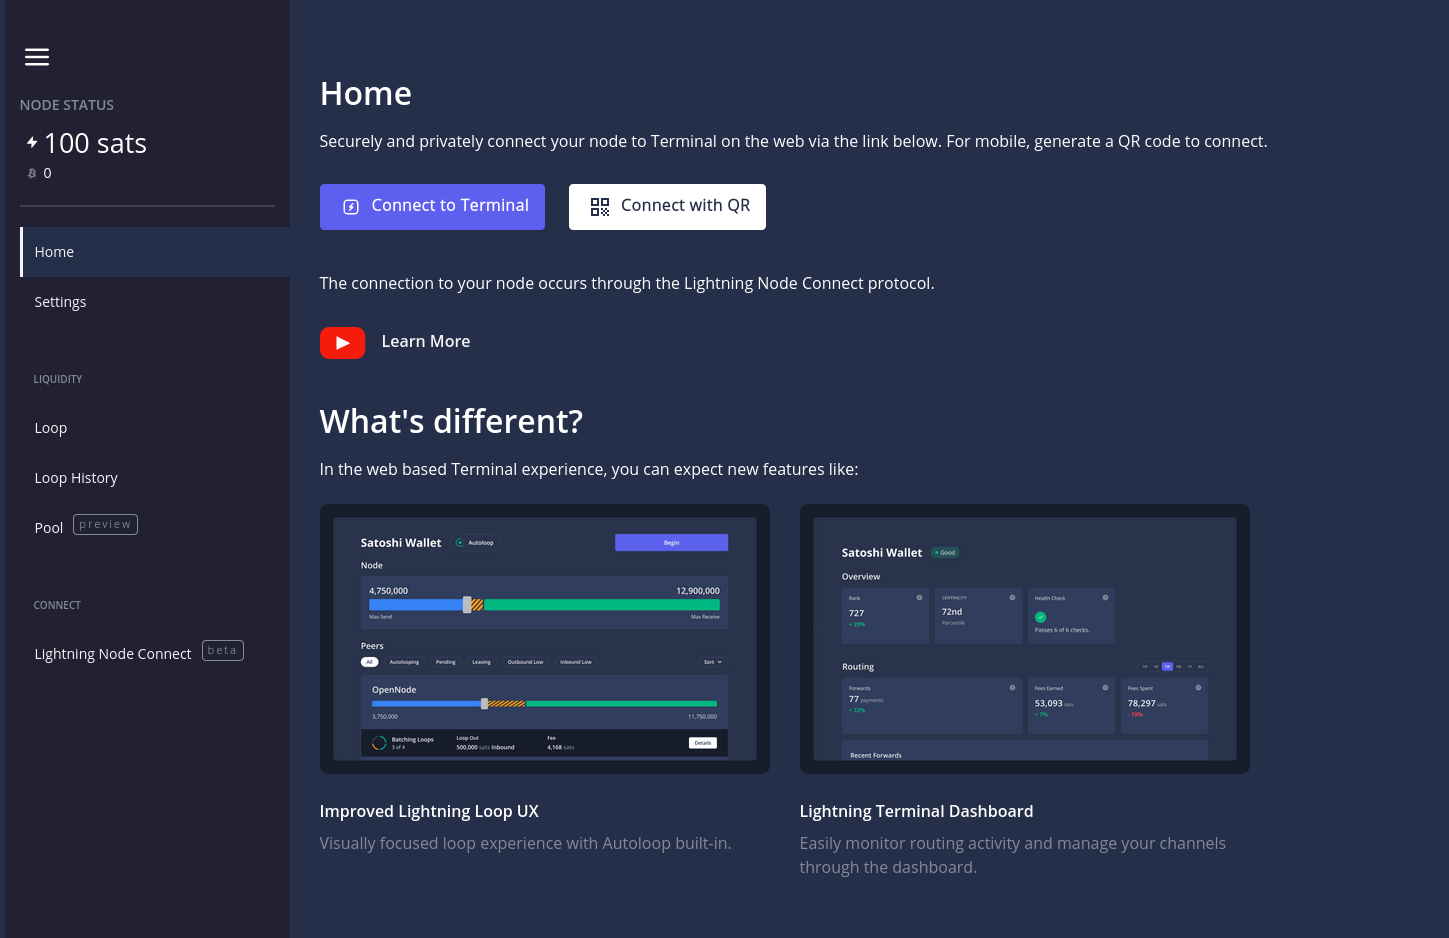
Connect to Lightning Terminal (on the web)
Here, we can click on Terminal, confirm our pairing phrase, set a password and connect to Lightning Terminal.
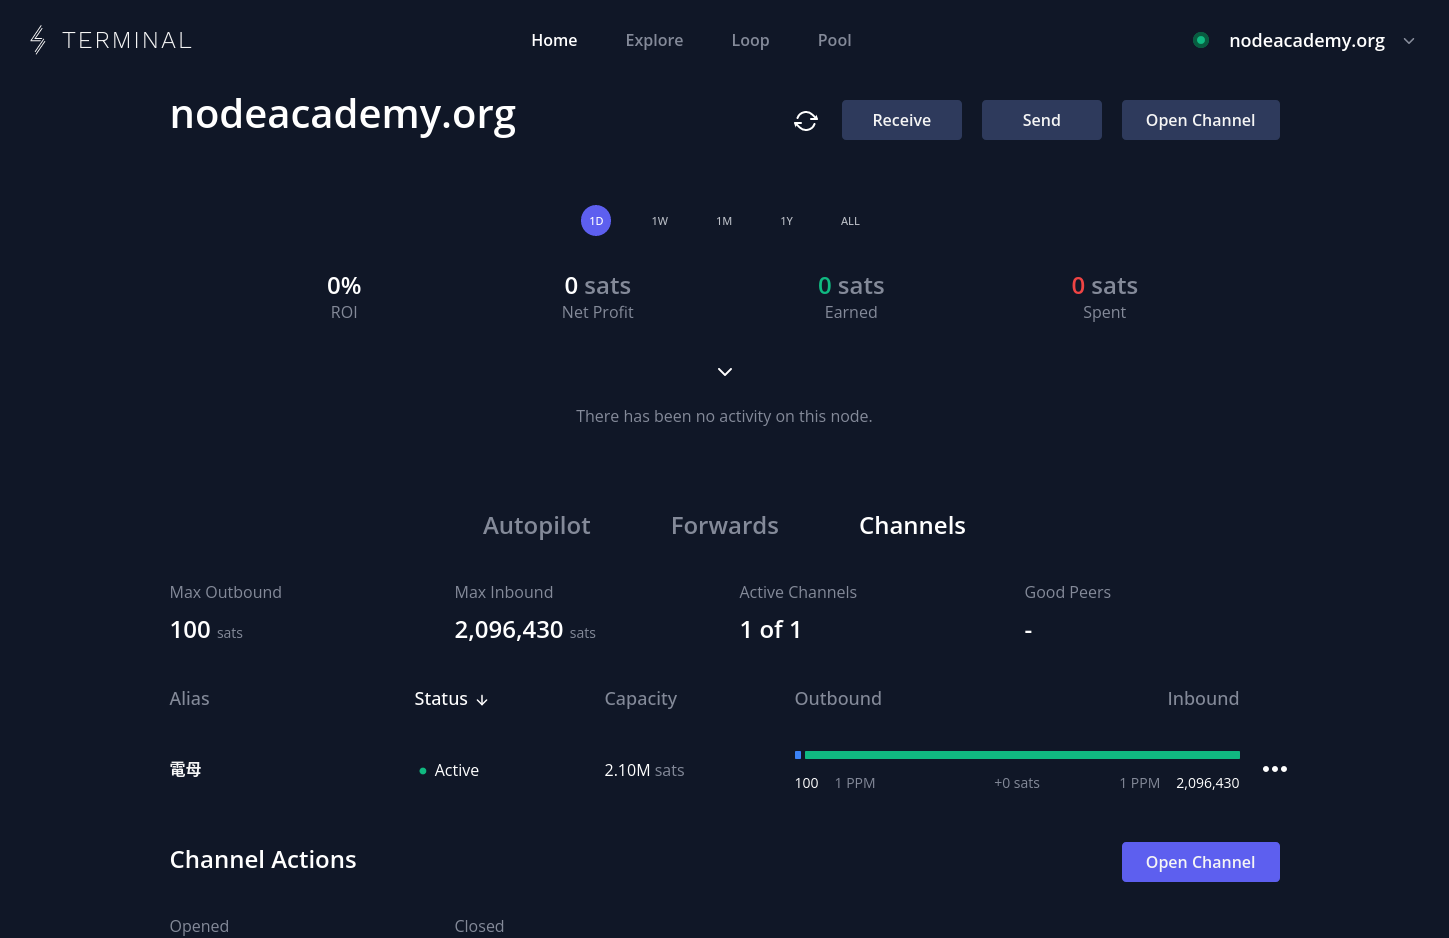
We can use this interface to see our channels and their status, incoming and outgoing payments, our balance, open channels, find other nodes, perform Loops, buy and sell channels on Pool or set our channel fees.
Connect to Zeus
Zeus is a mobile Lightning wallet for iOS and Android. We recommend connecting to Zeus over LNC if your node is behind Tor. If your node is accessible over clearnet, we recommend connecting over REST instead (see instructions below).
We go back to the litd interface, where we find “Lightning Node Connect” on the left hand side.
We can select “Create a new session”, give it a label (e.g. “Zeus) and give it permissions. If it’s your own wallet, you might be okay with “Admin”. If you are using the wallet purely to receive, try out “Read-only”.
You will now have the option to show the QR code and scan it with Zeus. In Zeus, add a new account by navigating to the Zeus symbol on the top left, then clicking on your current node, then on the plus symbol on the top right. Now a square on the top right should indicate the ability to scan the QR code. Give it a name and hit “save config”. You should now be able to connect to it, see your balance, create invoices and make payments.
Create to Alby
We can use the same flow as above to connect to Alby. In Alby, click on “add new account” and then “Connect” under other wallets. Choose “Lightning Terminal (LNC)” and paste your pairing phrase from the litd UI.

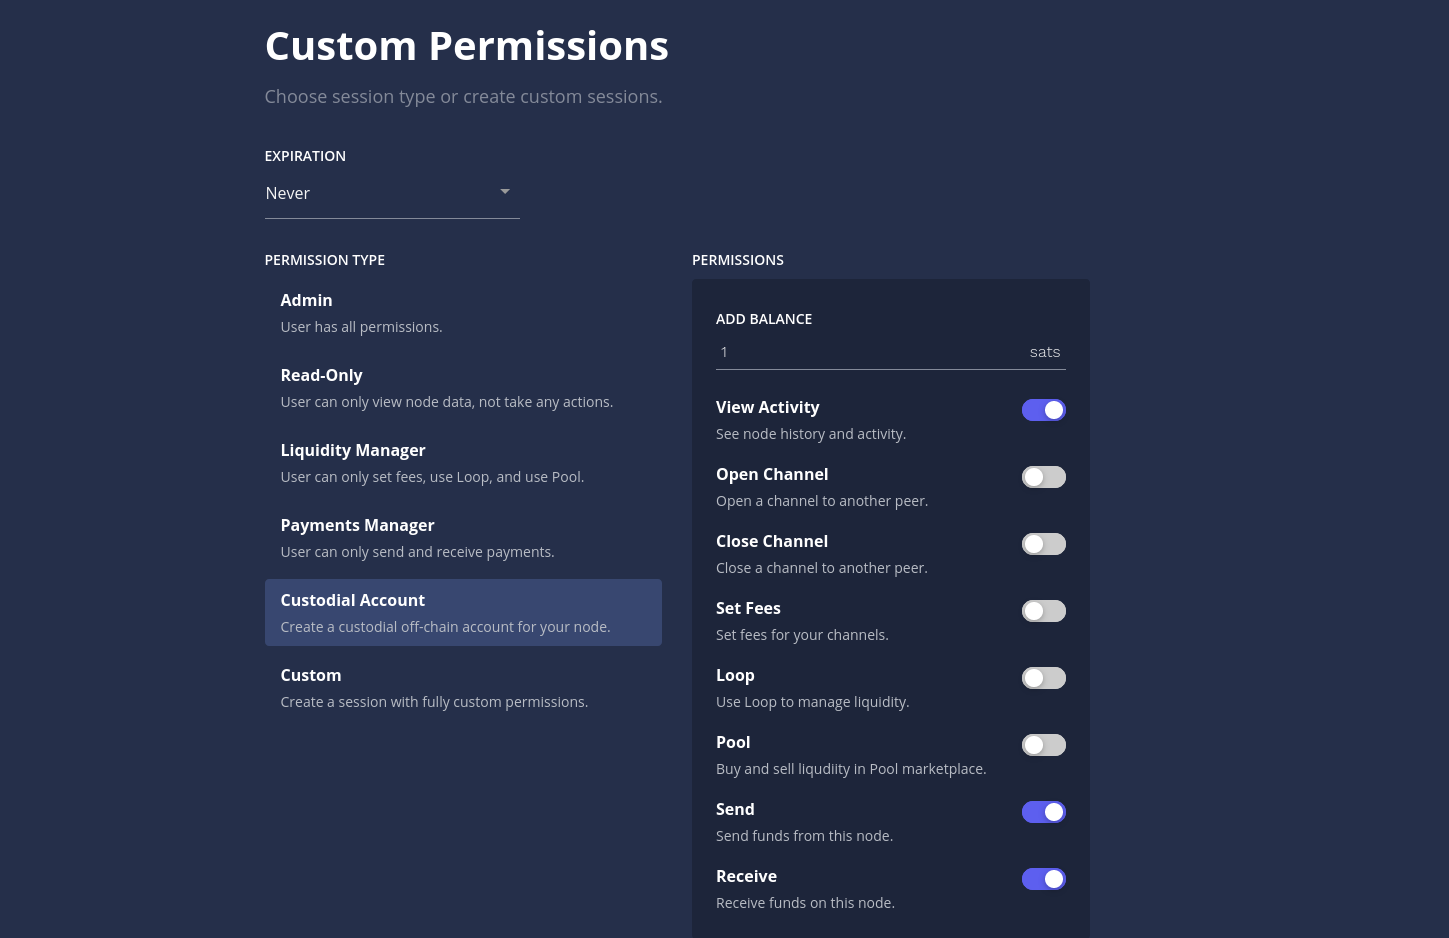
Create custodial sub accounts
Lightning Terminal has the ability to create custodial sub account on your node. This is incredibly handy if you are uncomfortable walking around with the keys to your full node, or want to give your family and friends access to your channel liquidity. Why should they trust some far away wallet when they can trust you, right?
In the litd UI under “Lightning Node Connect”, give your connection a name and choose “Custom”. On the left, choose “Custodial Account”, add a balance (e.g. 1 sat) and hit “Submit”. You can share the connection phrase or the QR code with your friend. They can then start using your node to receive and send payments without seeing your balance or transactions.
Alternative: Connect directly to your node from Zeus
Lightning Node Connect is a convenient tool to connect your node to Zeus and Alby, or to manage your node using Lightning Terminal. It excels especially in comparison to connections over Tor.
If your node is available over a clearnet IP, then connecting directly from Zeus may provide a significantly superior experience.
Get your macaroon
We’ll need our node’s macaroon. You can for example use the admin macaroon from LND and print it in hex.
xxd -p -c 256 ~/.lnd/data/chain/bitcoin/mainnet/admin.macaroon | tr -d '\n'
If you would like to make a custodial sub account with a 1 satoshi balance, you may this command:
litcli accounts create 1 --save_to ~/zeus.macaroon
Then print it in hex format:
xxd -p -c 256 ~/zeus.macaroon | tr -d '\n'
It is also possible to create a macaroon for an existing LND Account. Follow this guide if you want to do that
Open your firewall
To be able to receive connections over the REST interface, we will need to open port 8080 on our node.
sudo ufw allow 8080
Update lit.conf to listen on port 8080
Update lit.conf to be able to listen to rest interface on port 8080
nano ~/.lit/lit.conf
Use the arrow keys to navigate to the end of the file then add
lnd.restlisten=0.0.0.0:8080
Press CRTL-O to save and CTRL-X to exit
Restart litd service by typing
sudo systemctl restart litd.service
Connect Zeus
In Zeus, go into settings, then click on your existing node name, then on the big + symbol on the top right.
Give your node a nickname, choose LND (REST) as the node interface.
Your host is your IP address.
Under “macaroon”, enter your macaroon in hex format as obtained in the step above.
Under “REST port”, enter 8080.
Leave ‘Use Tor’ and Certificate verification unchecked and click save node config
You should be able to save your node configuration and connect right away.